
Installing and setting up AREDN (Amateur Radio Emergency Data Network) firmware on a GL-iNet GL-USB150 Microuter is simple an easy with just a few short steps to get this node on the air in an AREDN Network. Be sure to review the excellent AREDN Doc on getting started – will be using the GL-iNet First Install Process as a reference to get the AREDN firmware loaded on the GL-USB150 Microuter. The main use case will be have any computer with a USB port get instant access to an AREDN mesh network – you only need to be near another mesh node for it to connect. The GL-USB150 running the AREDN firmware can also act as an AREDN Tunnel Node or an AREDN Tunnel End Point.
I bought GL-USB150 Microuter off the USA Amazon site. There are no drivers to load on Windows 10 – I simply plugged the USB Microuter in to an open USB port on the back of my Dell Laptop to get things going. Looking at the network interfaces the GL-USB150 shows up as network/ethernet adapter on the 192.168.8.XXX network – see Image 1

Since the GL-iNet USB150 Microuter already comes with OpenWRT installed (will be replacing that with AREDN), open up a web browser to http://192.168.8.1 to bring up the initial setup page to choose your language, choose wisely see Image 2. Then hit Next

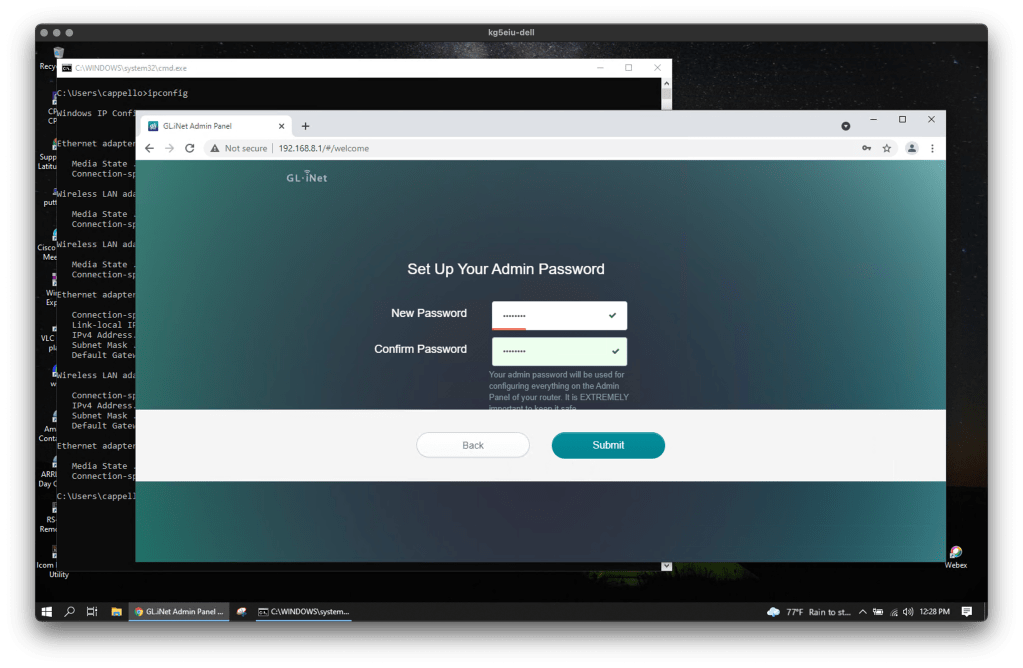
After you choose your language and hit Next you will be prompted to set a new password – this is just a temporary password to get access to the configuration settings and won’t be used in the AREDN config unless you setup the AREDN firmware with that password – see Image 3
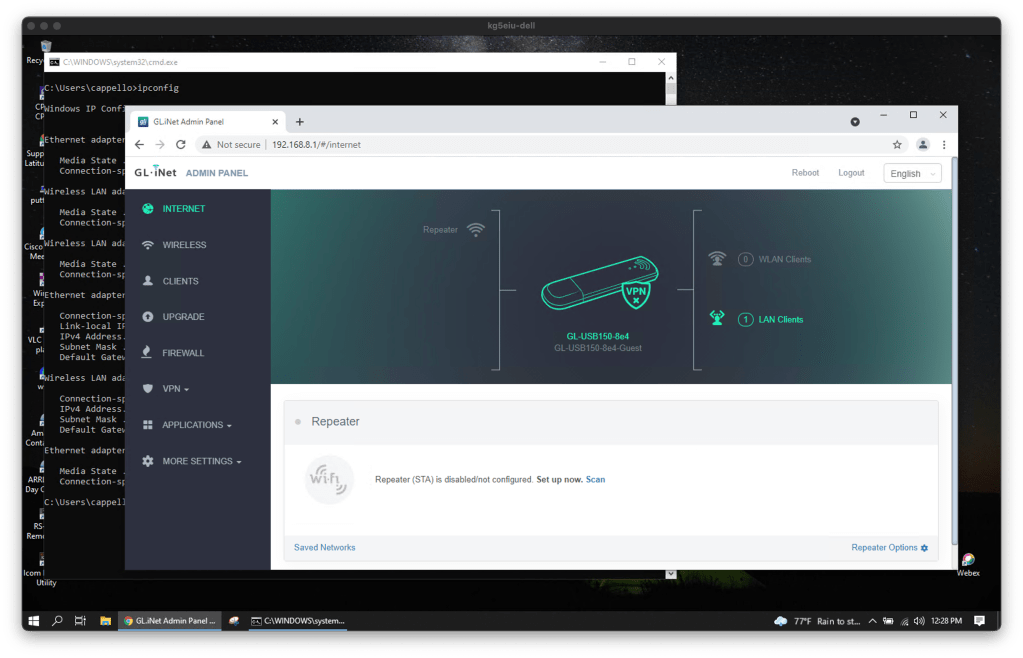
After the initial password has been set – the main configuration page of the GL-USB150 will be shown see Image 4
Will need the latest AREDN firmware release from the arednmesh.org site, the sysupgrade file for the GL-USB150 will be needed – click on the sysupgrade link and download to your computer see Image 5

After you have downloaded the AREDN GL-USB150 firmware – look on the left hand panel of the initial config screen and click on upgrade – then upload the firmware file you just downloaded and be SURE TO TURN OFF Keep Settings before you install the AREDN Firmware see Image 6

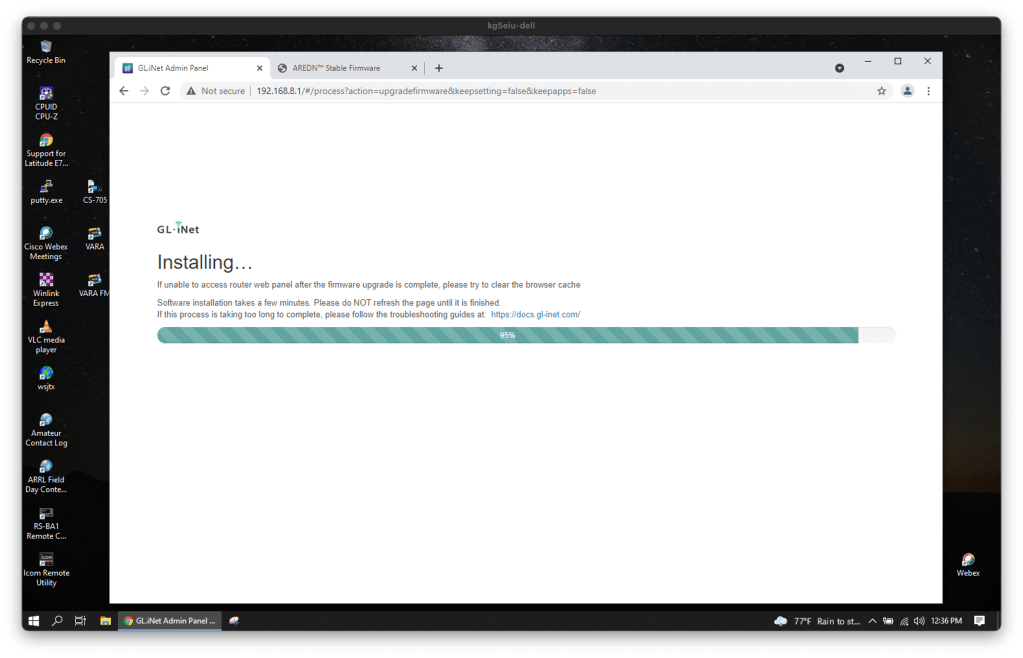
After you clicked Install your browser will load the AREDN firmware into the GL-USB150 – be patience this step will take a few minutes so let it finish See Image 7 – You may even see a Windows pop-up saying the network has been disconnected that is also expected – after it finishes loading the firmware don’t be alarmed if you can’t reconnect to the 192.168.8.1
Now that the AREDN firmware has been loaded into the GL-USB150 – looking at the interfaces on a Windows 10 PC an interface with a DNS Suffix of local.mesh – this is the GL-USB150 interface and that is now running the AREDN firmware you loaded up from the previous steps. See Image 8

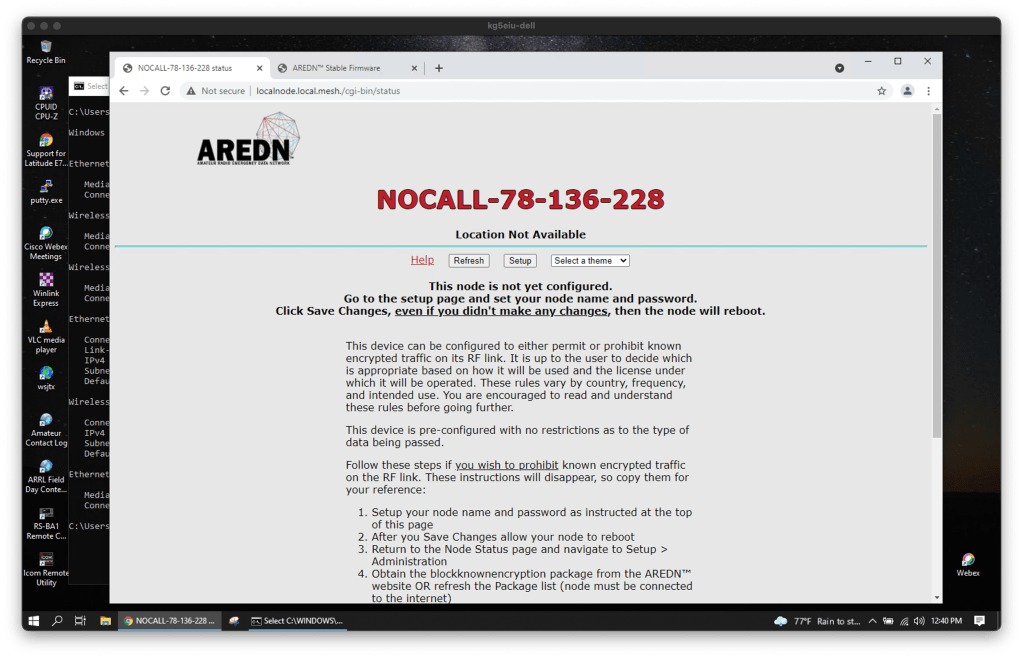
To bring up the initial AREDN configuration screen open a web browser tab to http://localnode.local.mesh. You should see a screen very similar to Image 9 (yours will have different numbers after the NOCALL) click on the Setup button to get started with the initial AREDN configuration screen. Review the AREDN Doc After the Firmware Install. Where you will find information on the default username and password for the admin login (Username: root and Password: hssm)
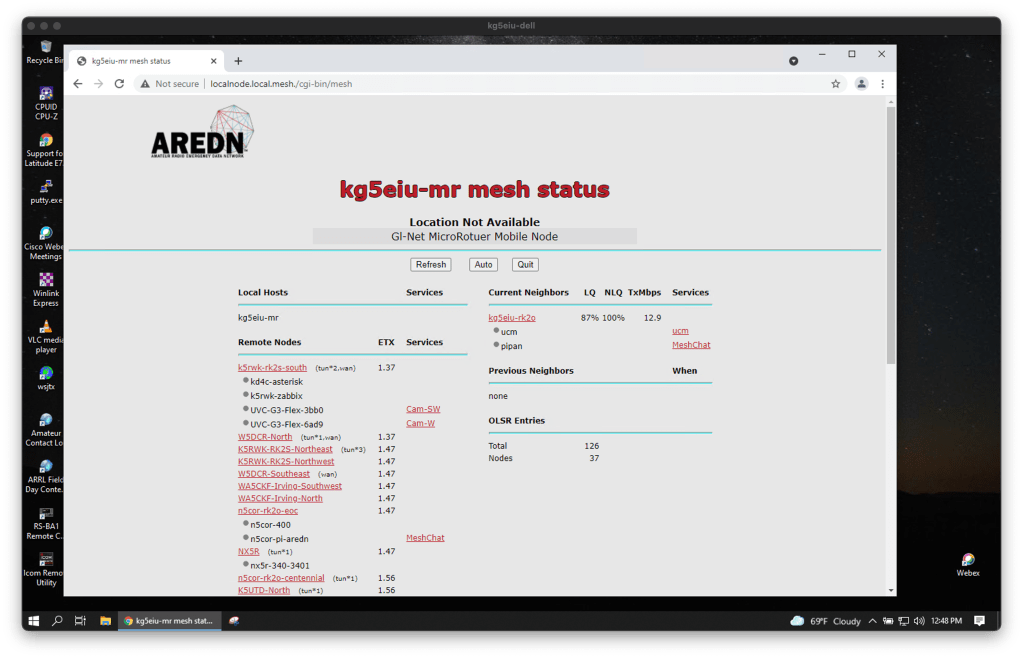
That is all there is to getting a GL-Net USB150 Microuter configured with AREDN Mesh. Looking at Image 10 my GL-USB150 USB stick node “sees” my outdoor AREDN rocket node – it is about 80 feet away and the signal is not too bad.


May 30, 2021 at 3:10 pm
I’ll wait until I get back from NM. No AREDN out there yet.
Dsle
On Sun, May 30, 2021 at 2:14 PM David Cappello (KG5EIU) wrote:
> KG5EIU posted: ” GL-USB150 Microuter Installing and setting up AREDN > (Amateur Radio Emergency Data Network) firmware on a GL-iNet GL-USB150 > Microuter is simple an easy with just a few short steps to get this node on > the air in an AREDN Network. Be sure to review the ” >
LikeLike